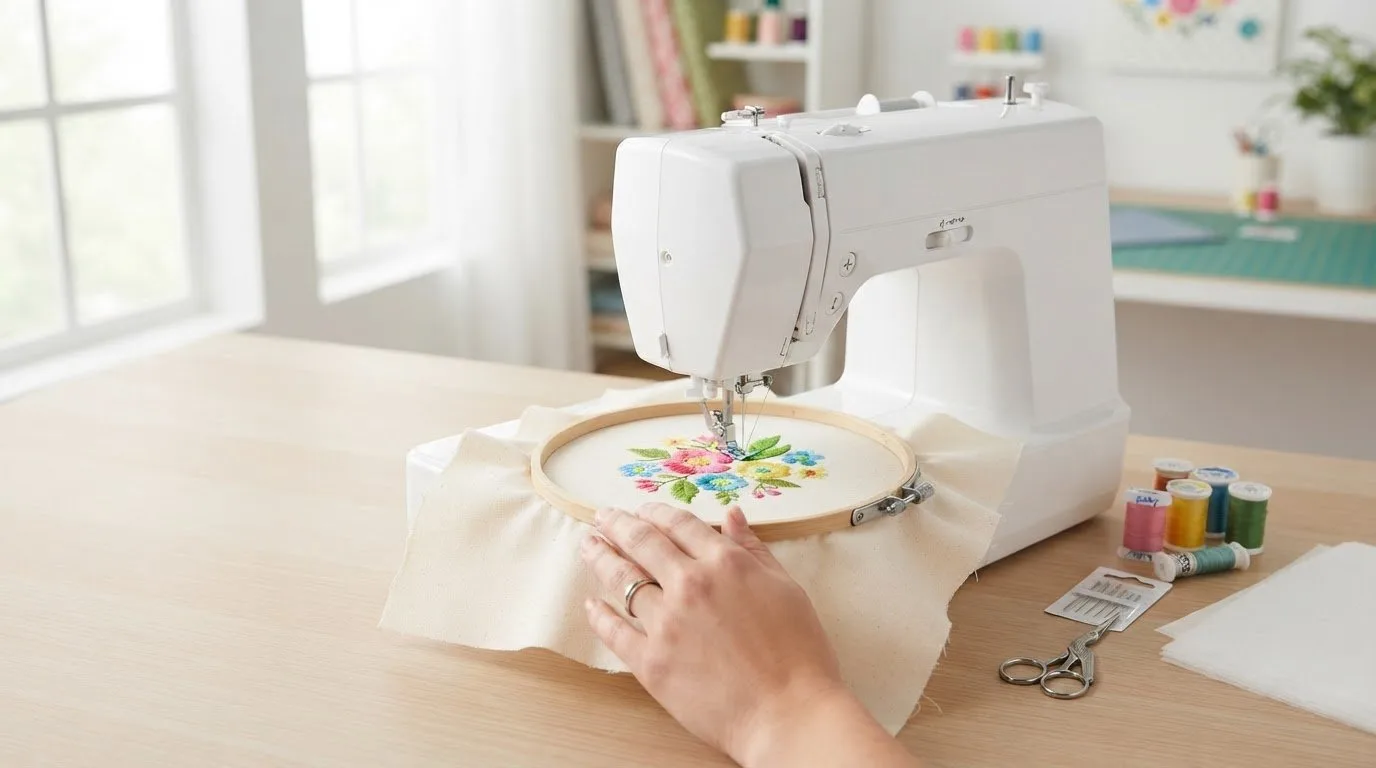
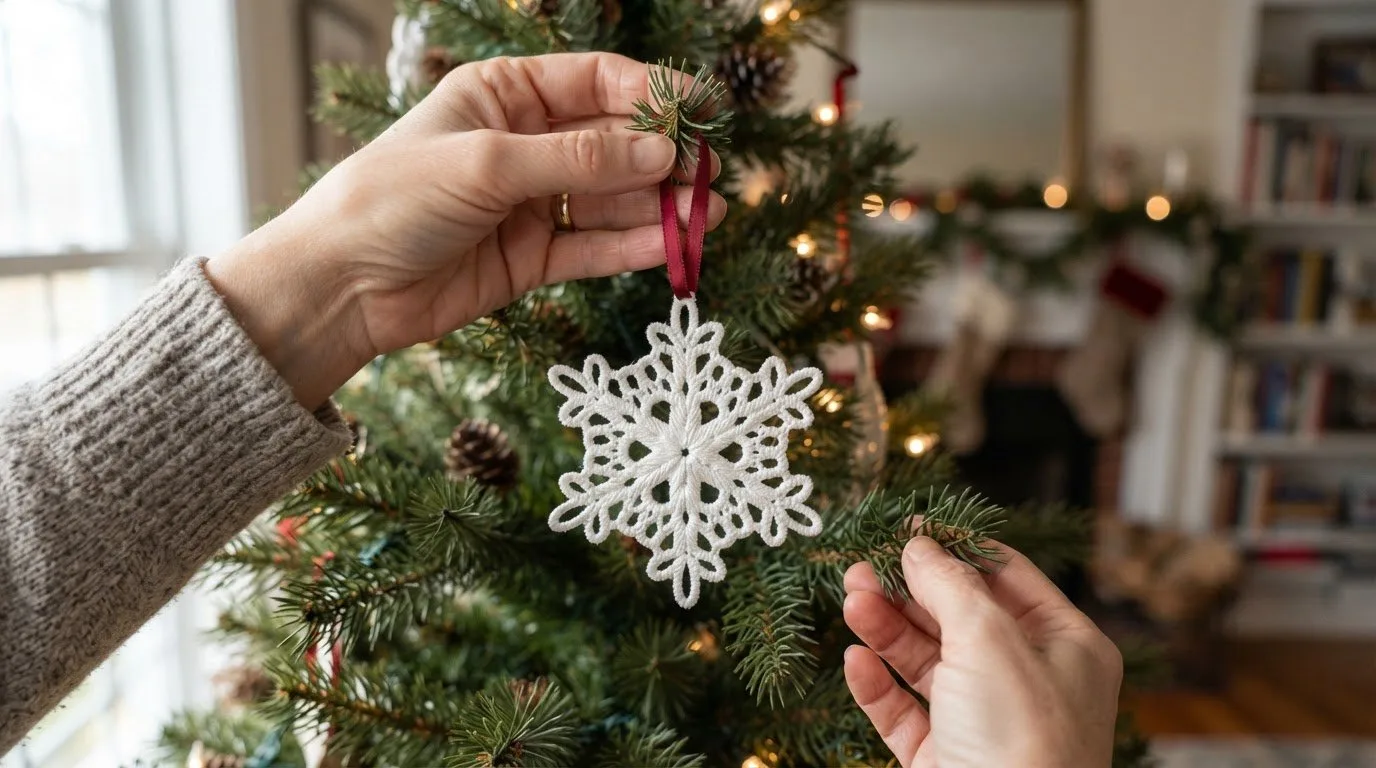
Free-standing lace (FSL) snowflakes are stitched without a fabric background, so their shape depends on careful threadwork. This guide to FSL Christmas ornaments explains how to stitch snowflakes, what makes the process manageable, and how hand embroidery offers a fabric-based alternative. FSL is created as a freestanding machine-embroidered piece, while hand-stitched snowflakes are worked onto fabric.
It's understandable to want a clear picture of the materials before starting, especially when a delicate ornament needs to hold its shape. The Shimmering Snowflake ornaments are suggested as gifts, and their printable download includes the pattern and instructions. For a hand-embroidered example, the Epida Studio ornament project uses six-strand embroidery floss.
Here, you'll learn how FSL stitching works, how fabric and thread fit into each approach, and what to expect from a hand-embroidered snowflake ornament. These differences can help you choose a method that suits your skills, tools, and preferred finish.
Key Takeaways
- Gauge a snowflake pattern's detail and stitch density before choosing a project that fits your experience.
- Plan fabric and thread around the method you'll use, since each affects the ornament's structure and finish.
- Use a hand-stitched approach to make a fabric-based snowflake, and consider how its edges will look when finished.
- Follow the project sequence carefully so the delicate snowflake keeps its shape through stitching and finishing.
Difficulty Level
FSL snowflakes call for careful preparation and close attention to the pattern. Without a fabric background, the stitched threads form the ornament itself. Stitch placement and connections matter: gaps or loose sections can affect the finished shape. Follow the design instructions in sequence, since FSL involves more than outlining a snowflake.
How long does it take to stitch an FSL snowflake ornament? There's no fixed stitching time. The design's stitch count, machine speed, setup, and finishing steps all affect the total. A detailed pattern takes longer to sew than a simple one, and preparation and cleanup add time beyond the machine run.
To assess a project's difficulty, review its pattern and instructions before starting. Look at the level of detail, how closely the snowflake's branches are stitched, and whether the instructions explain how to finish the ornament. Prepare the machine and materials as directed, sew the design, then follow the steps for releasing and shaping it. Don't rush delicate sections; consistent stitching matters more than speed.
The special Ornament issue of Just CrossStitch Magazine featuring snowflake ornaments came out on September 1. Shimmering Snowflake ornaments are also suggested as gifts, making them a useful example of a project chosen for both stitching and presentation. For more handmade present ideas, see our guide to easy embroidery projects for gifts. For a first attempt, focus on following one pattern from setup through finishing rather than judging difficulty by the snowflake's appearance alone. A crisp, intricate design may look challenging, but the instructions and stitch density give a more practical guide.
Fabric and Thread Requirements
In FSL, the stitched design stands on its own rather than remaining on ornament fabric. The pattern instructions therefore guide your stabilizer and thread choices. Water-soluble stabilizer can support the stitches during embroidery and dissolve during finishing; our guide on how to use water-soluble stabilizer walks through it step by step. Use the type and number of layers specified for the design to support its stitched structure.
What needle, thread, and machine settings work best for FSL snowflakes? Follow the design instructions for the needle, thread, tension, and machine settings. These choices depend on the stitch file and materials, so one needle size or setting won't suit every snowflake.
Before stitching, prepare the materials as the pattern directs:
- Choose the specified stabilizer, which holds the lace design in place during sewing.
- Use embroidery thread suited to the file's instructions and the ornament's intended appearance.
- Install a suitable, undamaged needle and thread the machine according to its manual.
Thread choice affects the appearance and formation of the stitches. Consistent thread delivery is especially useful when a design has dense stitching or small branches. Don't substitute fabric for stabilizer unless the instructions call for it: FSL relies on stitched connections to create its shape. Keep the materials consistent throughout the design rather than changing thread midway without a pattern-based reason.
Hand embroidery uses a different materials plan. The Epida Studio ornament project uses six-strand embroidery floss, a clear example of thread for hand stitching rather than machine-made FSL. For machine projects, browse our Christmas embroidery designs to find patterns for your holiday stitching.
Use the needle and embroidery thread specified for the design, along with its recommended tension and machine settings. The right combination varies with the stitch file and materials.
Hand-Embroidered Snowflake Christmas Ornaments
Hand embroidery creates a fabric-based snowflake, while FSL forms an ornament from stitched thread alone. Choose the approach that matches your desired finish and the pattern instructions.
Embroidery Technique
For a hand-stitched snowflake, transfer the pattern onto fabric and work from the center toward the branches. The Epida Studio ornament project uses six-strand embroidery floss. Keep stitches even, secure thread ends on the reverse, and trim excess fabric carefully. If machine thread breaks or a gap appears, pause, secure loose ends, and resume from a stable point. The Shimmering Snowflake printable download includes a pattern and instructions to guide the project.
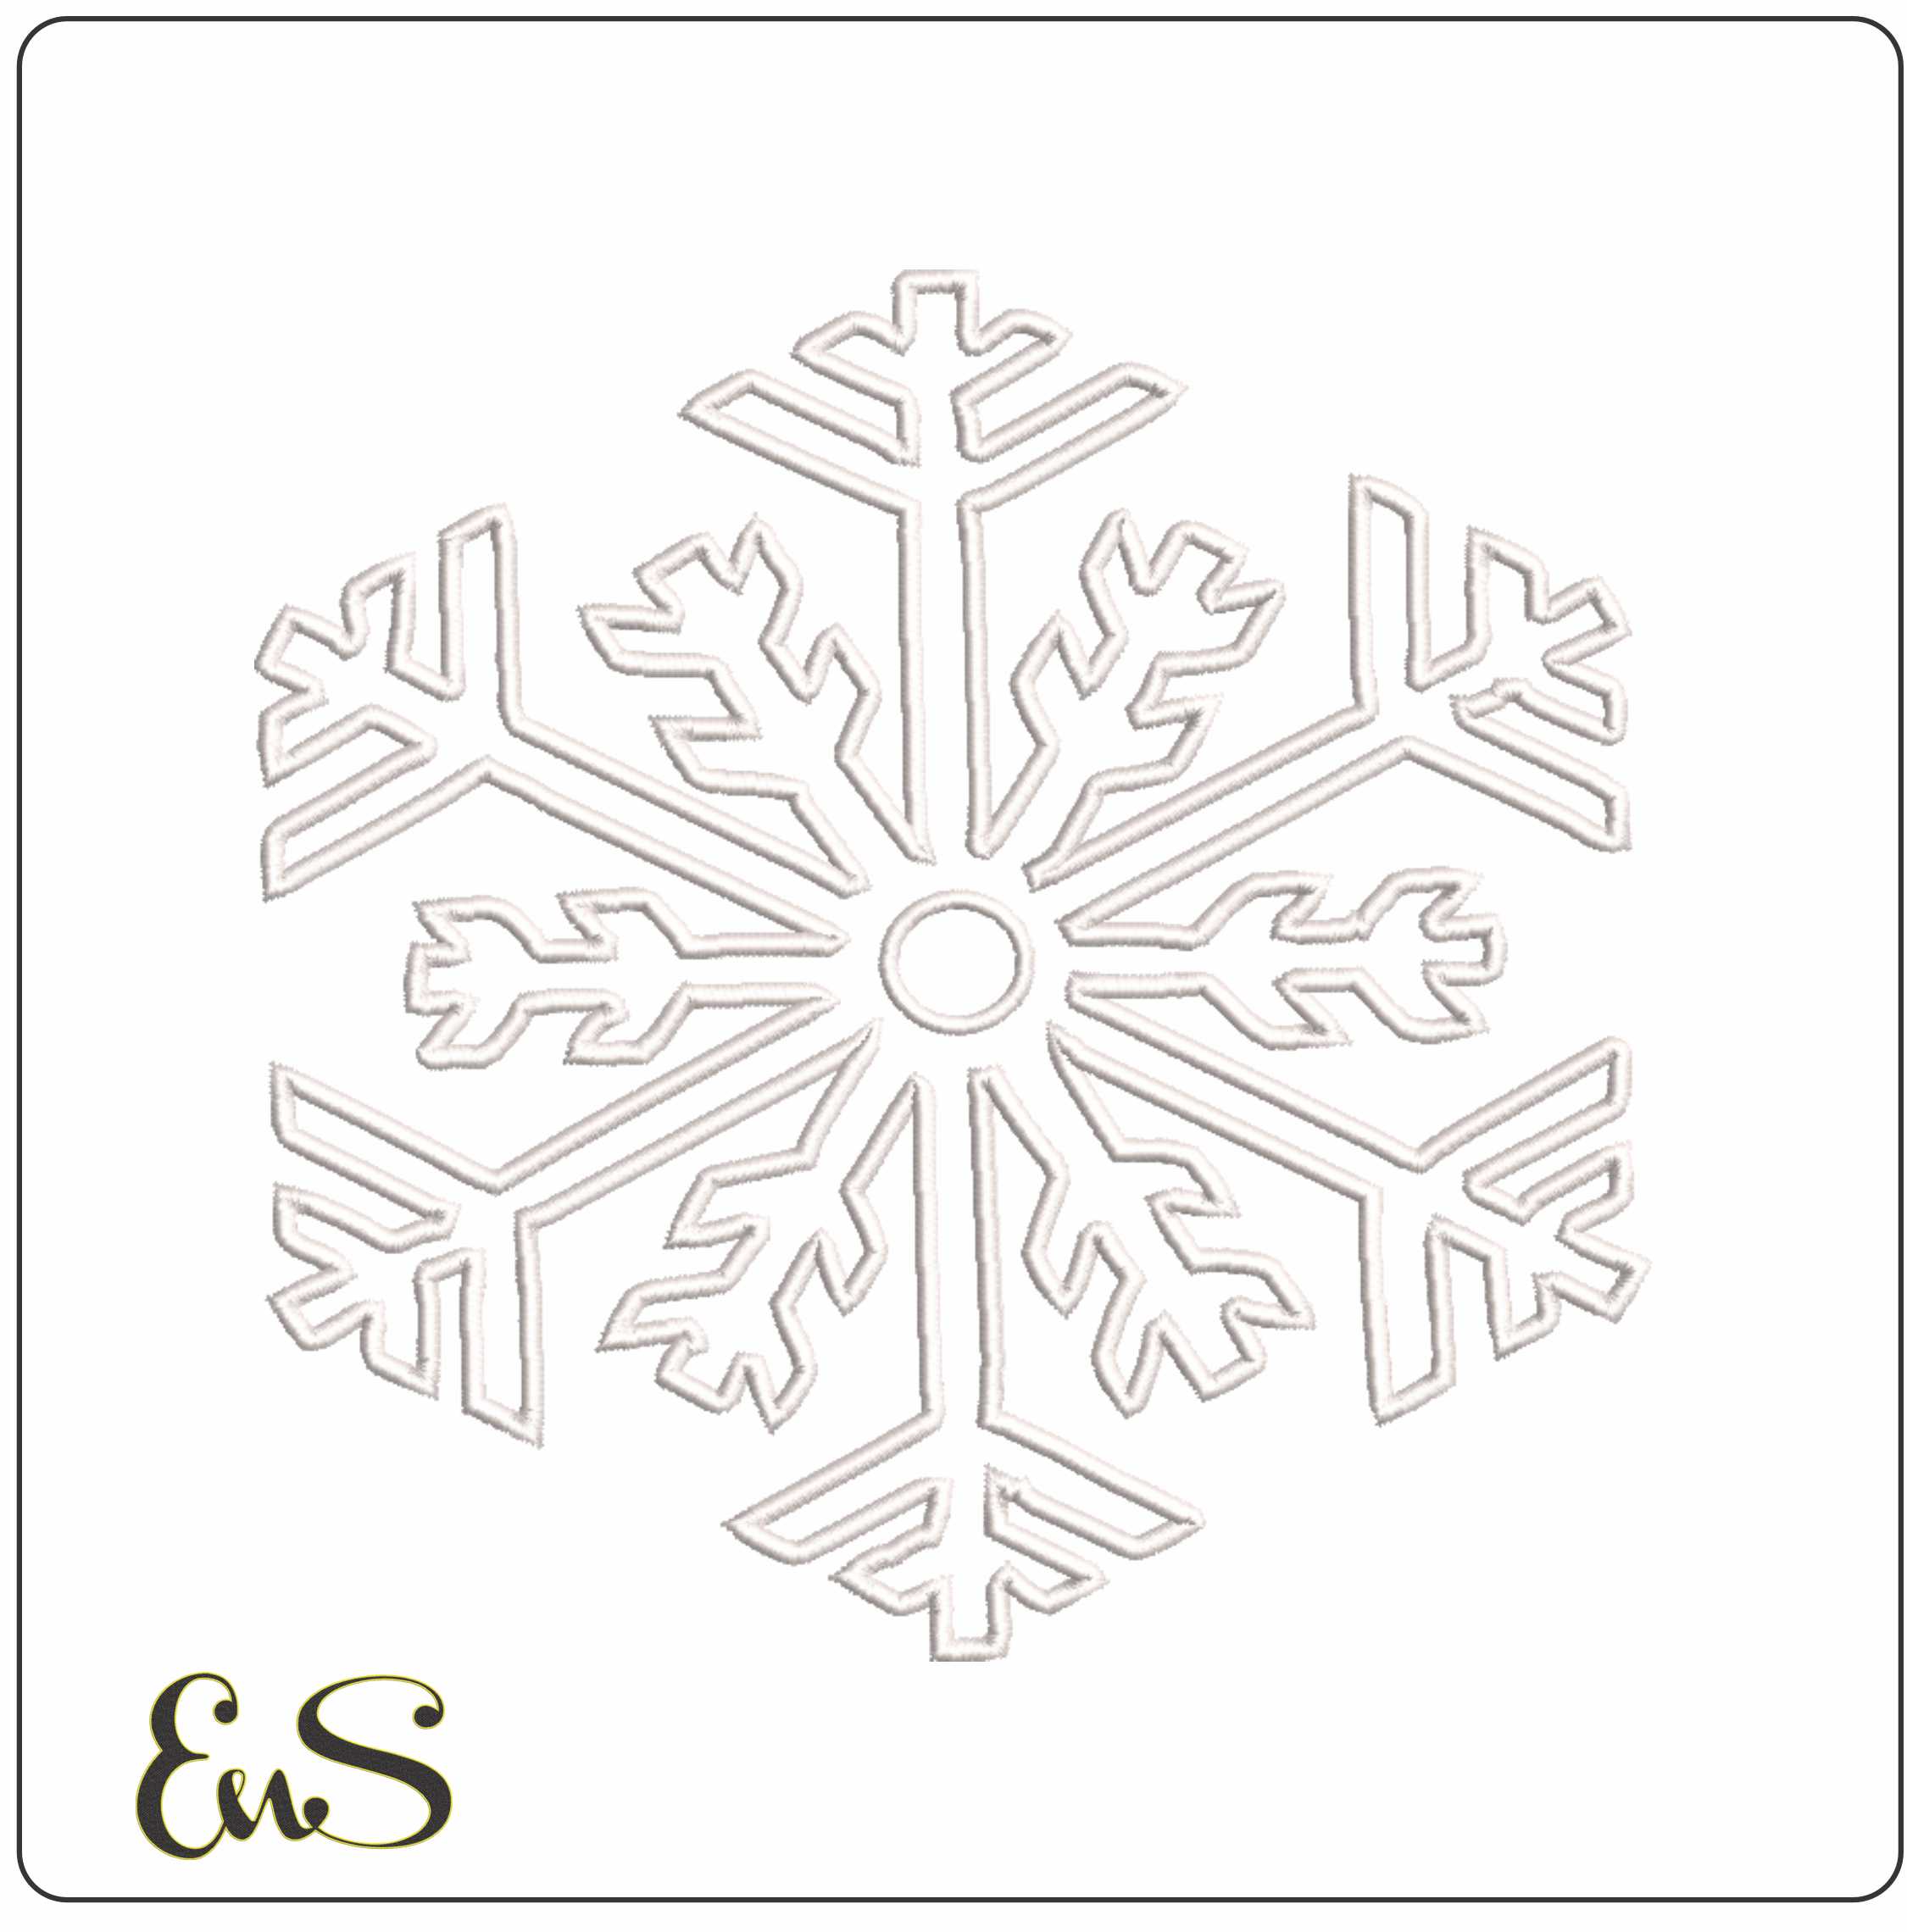
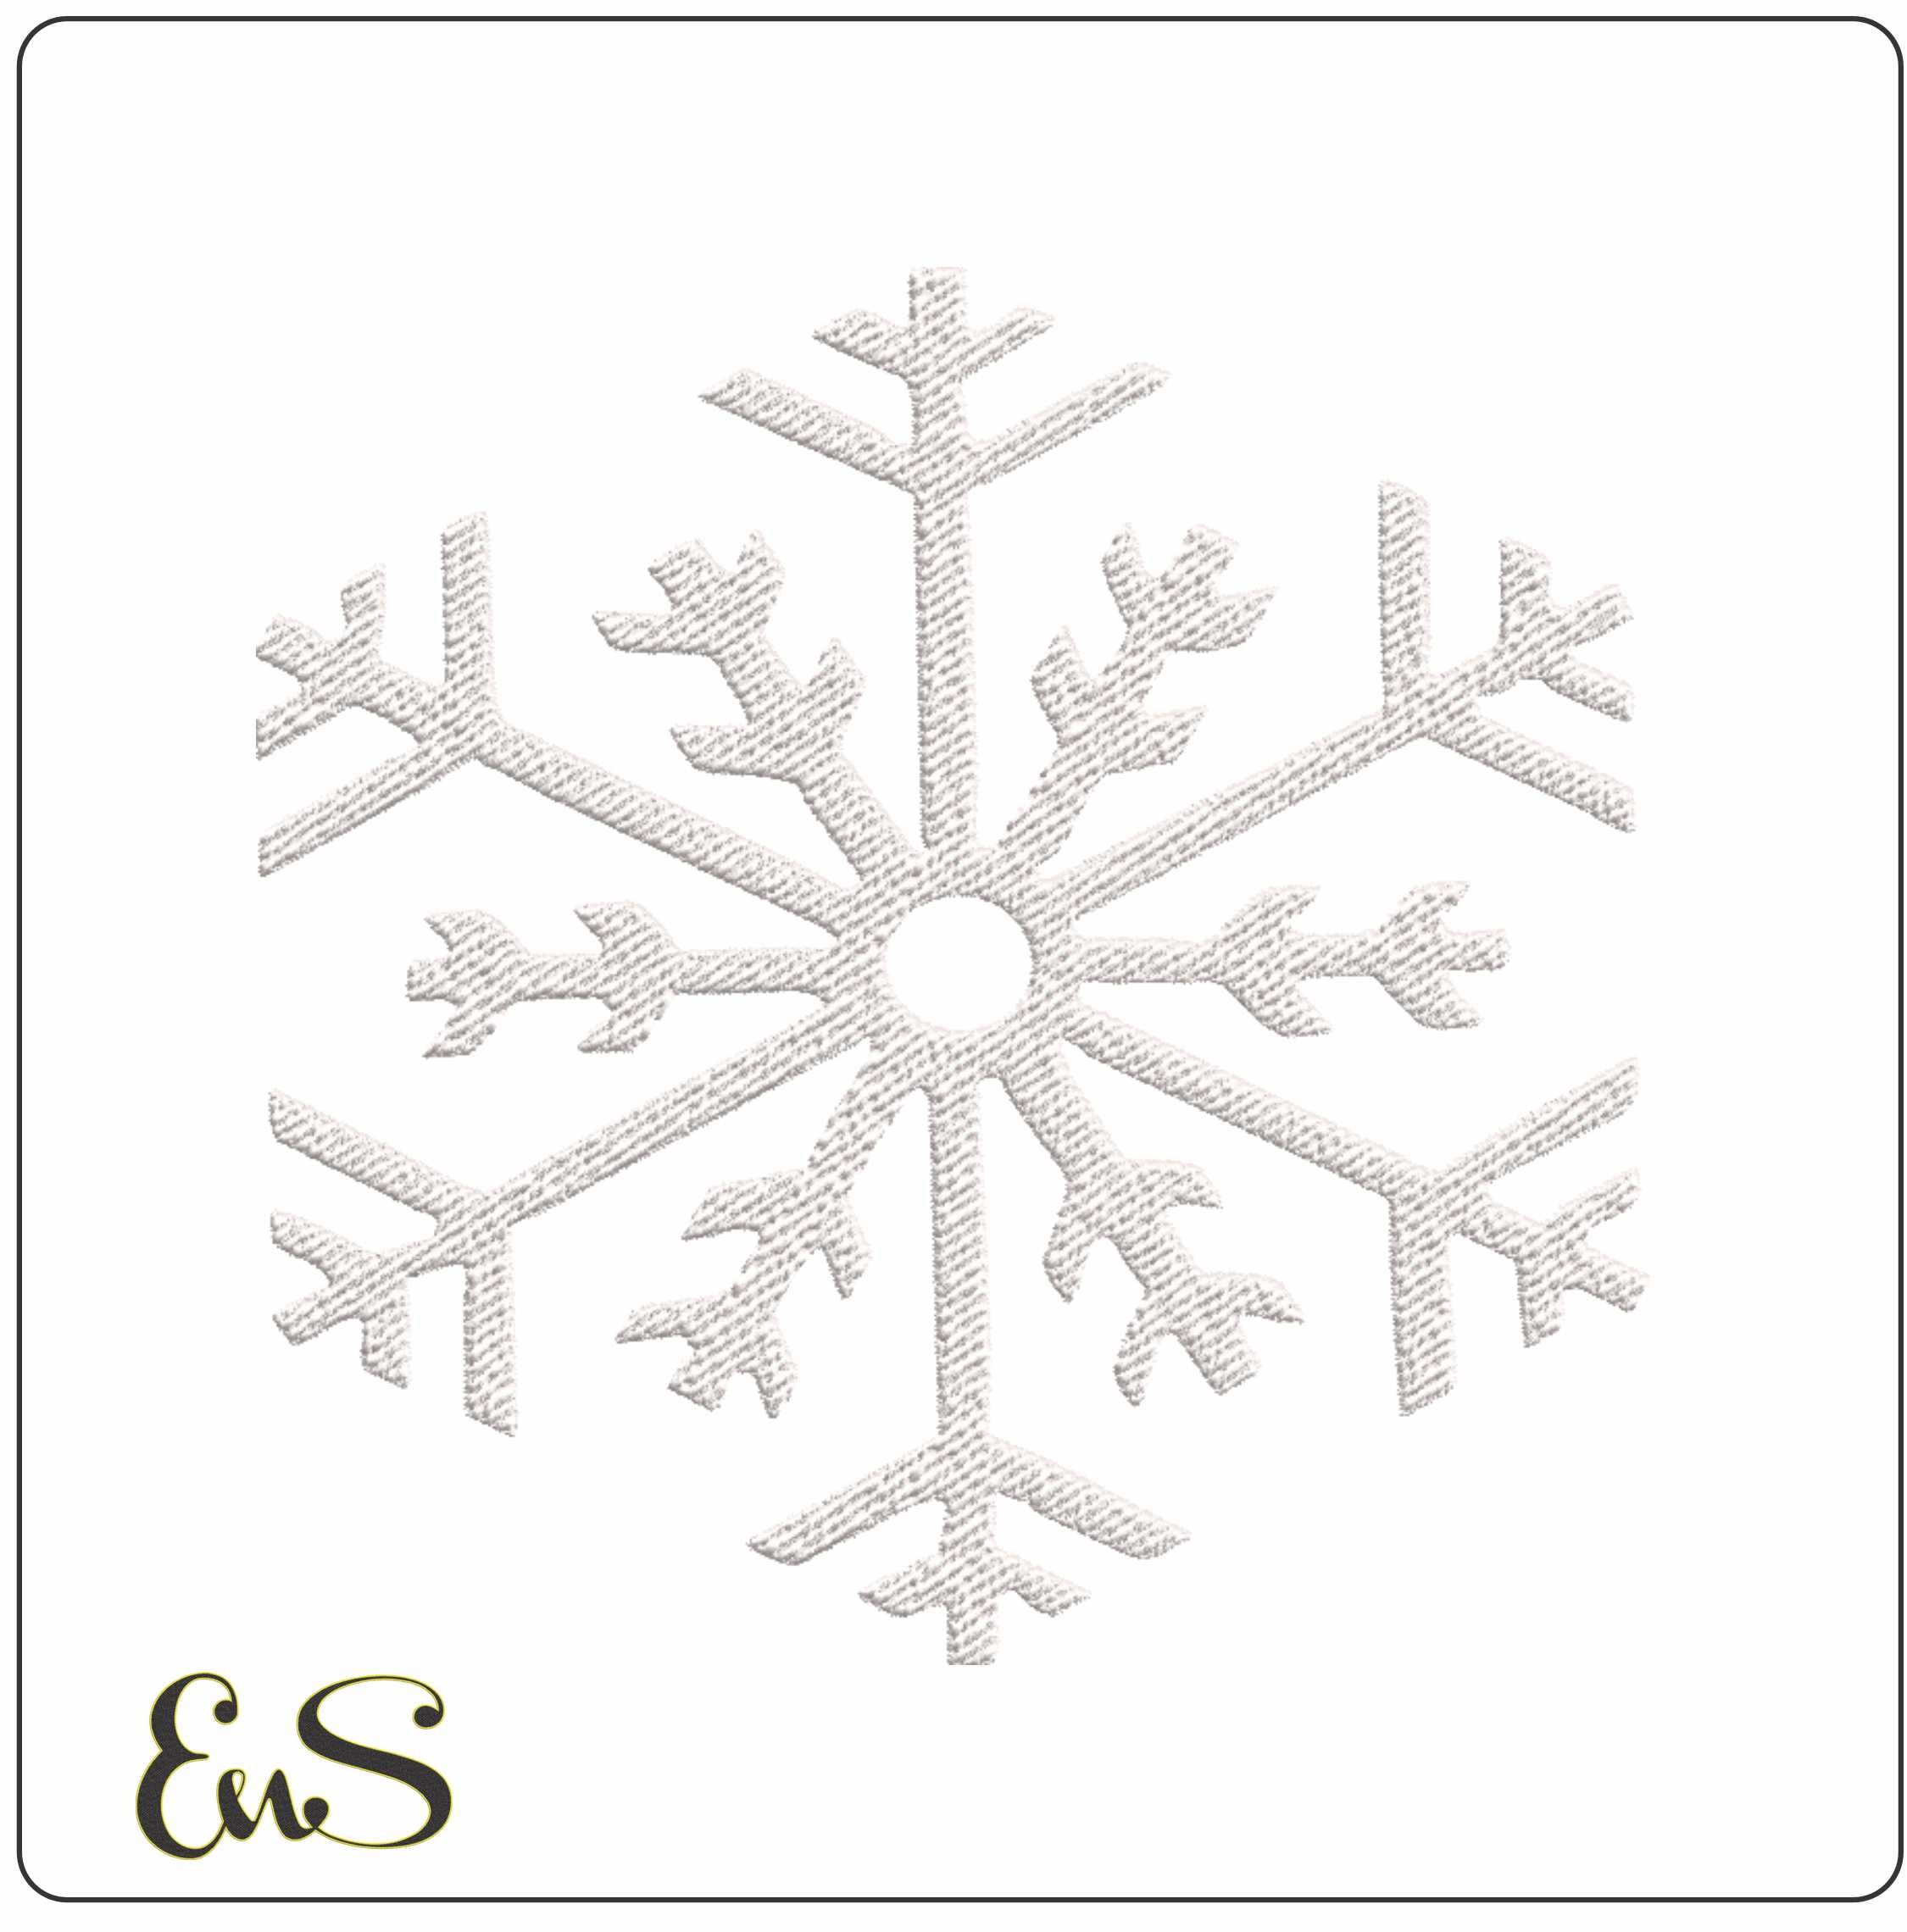
Prefer to stitch a snowflake by machine on fabric instead? A simple outline design such as our Snowflake 1 Outline gives a light, airy look, while the Snowflake 1 Solid version gives a bolder, filled finish.
Stabilizer Selection
For an FSL snowflake, use the stabilizer type and layers specified in the design instructions. Water-soluble stabilizer can support lace stitching and be removed during finishing, following its product directions. Keep it in place until the stitched connections are secure. Review the pattern details to choose a project that suits your plans and understand its purchase terms.
Hanging Loops and Ribbon
A finished snowflake can hang from a ribbon loop passed through a sturdy opening near its upper branch. Tie or sew the ends securely, positioning the loop so the ornament hangs evenly. For a fabric-backed, hand-embroidered version, attach the loop through the backing rather than pulling on a delicate stitch. Planning the hanging point before finishing helps an FSL snowflake ornament display neatly. For more winter and holiday ideas, explore our seasonal embroidery designs.
Embroidery n Sewing
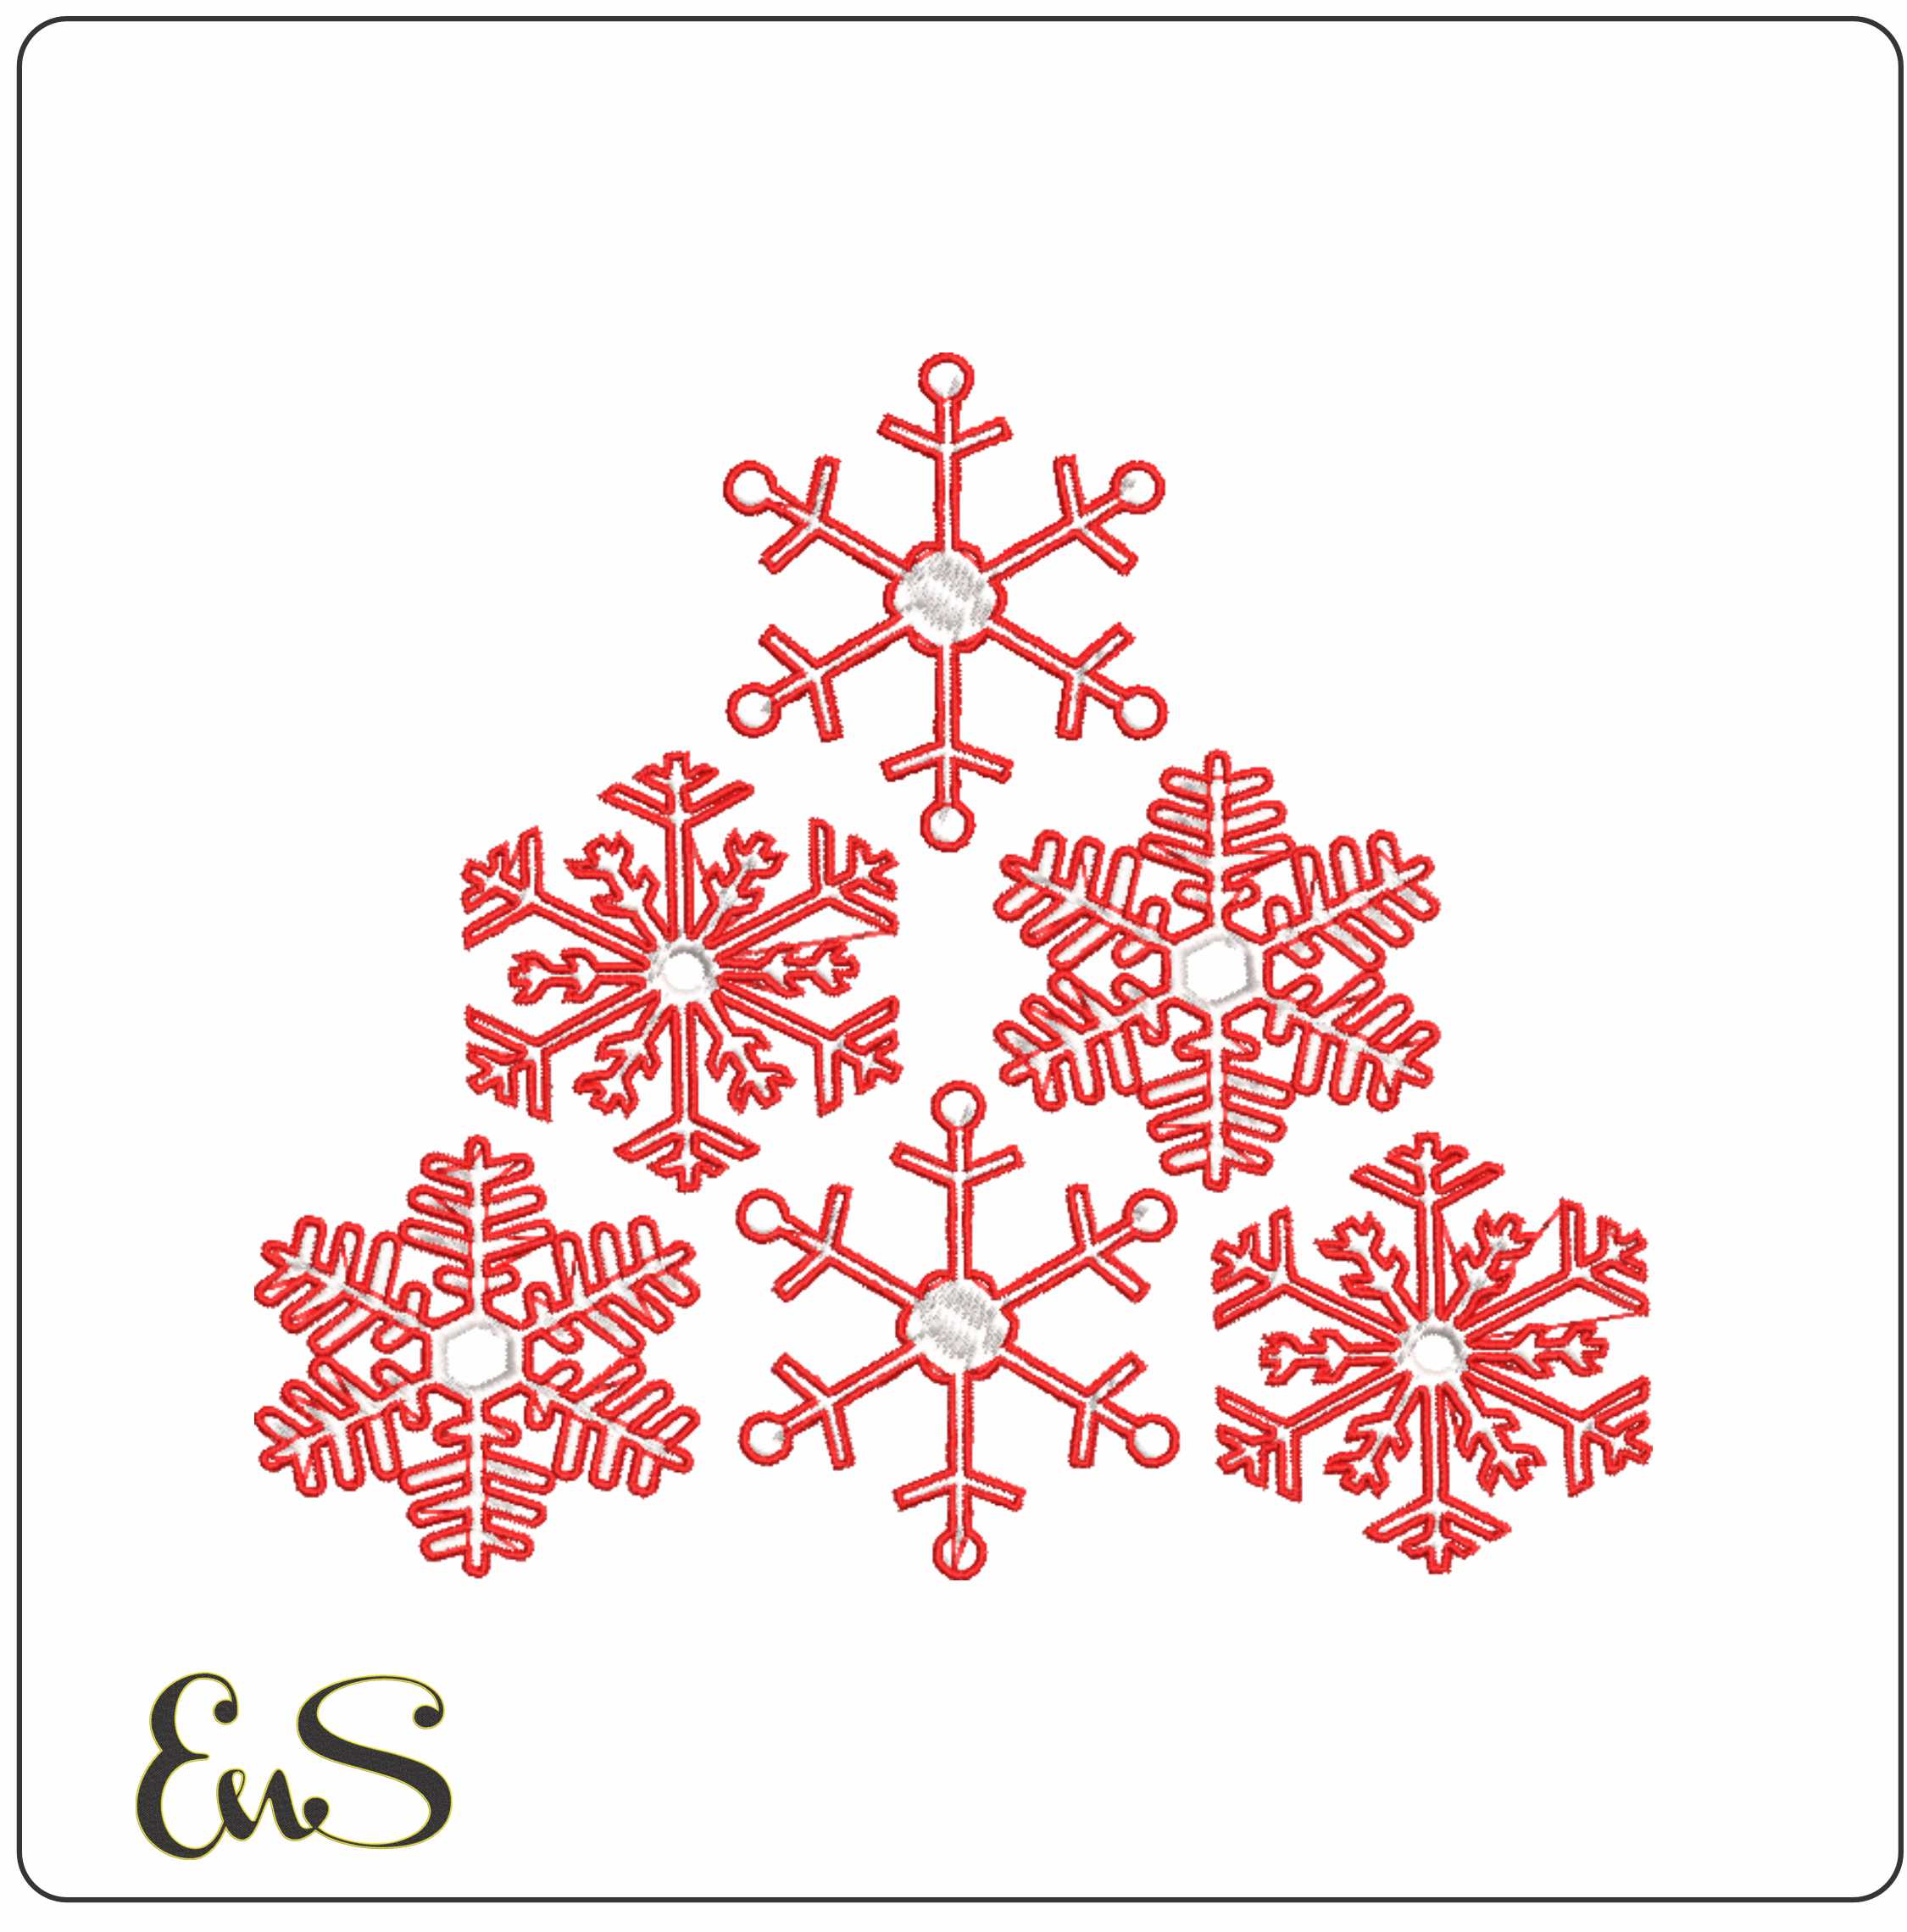
Embroidery n Sewing helps crafters explore digital embroidery designs when they're ready to move from hand stitching to machine embroidery projects. For a snowflake ornament, a machine design can provide a stitch file and project-specific instructions, while the pattern determines the materials and finishing steps. Our Snowflake Tree design is a festive option for towels, pillows and other holiday décor. Browse the range of embroidery themes to find ideas suited to your next project, or read our complete guide to Christmas embroidery for more seasonal inspiration.
Choose Your Next Stitching Project
Let your snowflake project guide the next design you explore. If you're considering FSL Christmas ornaments and learning how to stitch snowflakes, keep the pattern instructions at the center of your plan. Then choose an embroidery theme that suits your interests and preferred stitching style.
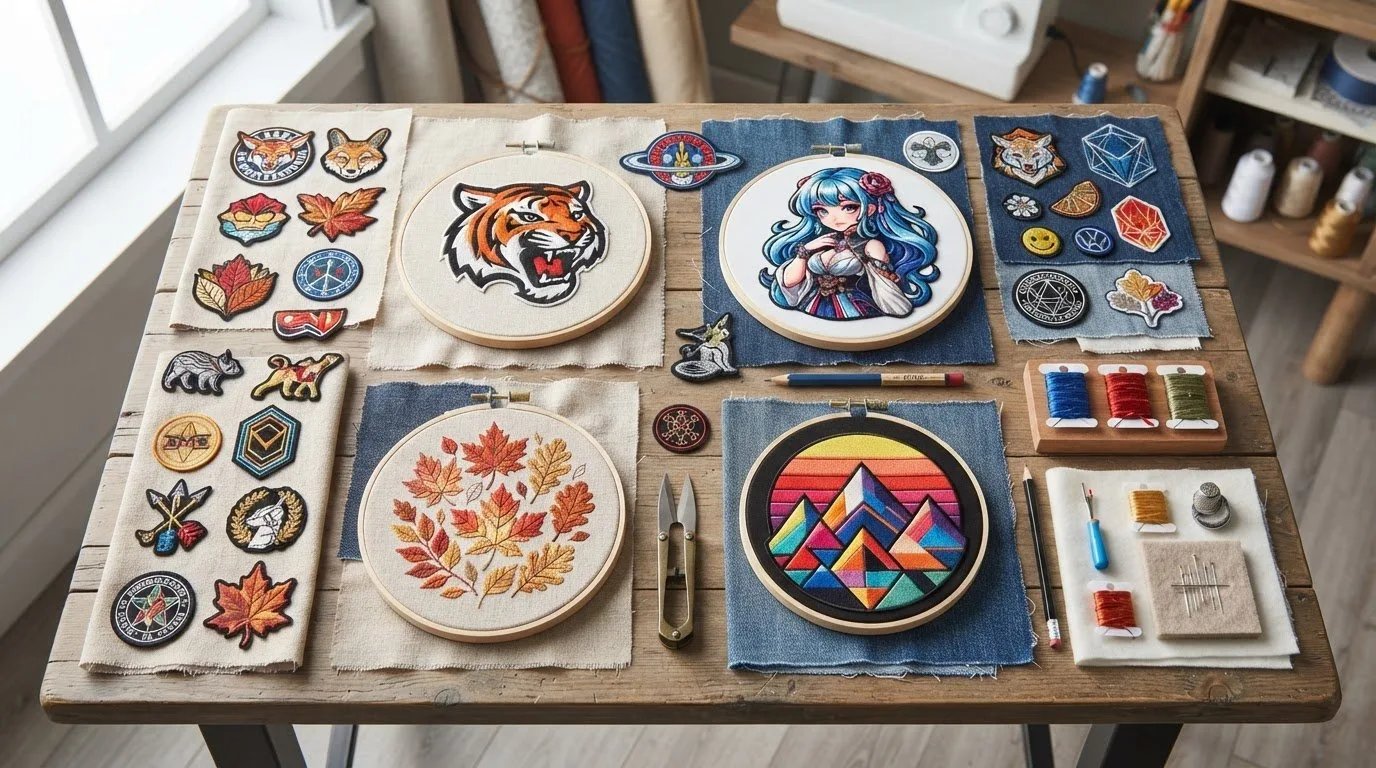
Embroidery n Sewing offers digital embroidery designs, machine embroidery designs, and college embroidery designs, giving you different themes to explore for future projects. Each can help spark ideas for what to stitch next, whether you want a design connected to a favorite team, school, or creative interest. For help exploring embroidery design options, contact Embroidery n Sewing.
Take your time choosing a design for your next project, then enjoy bringing it to life one stitch at a time.
Frequently Asked Questions
What supplies are needed to stitch freestanding lace snowflake ornaments?
Gather an embroidery machine, a snowflake design file, embroidery thread, a suitable needle, and the stabilizer specified by the pattern. Keep small scissors nearby to trim thread tails after stitching. You'll also need a way to remove the stabilizer according to its instructions. Before starting, confirm that the design fits your hoop and that its file format works with your machine.
How do you embroider FSL snowflake ornaments step by step?
Review the design instructions, then prepare the machine, thread, needle, and stabilizer as directed. Hoop the stabilizer smoothly, load and position the snowflake file, and stitch the pattern while monitoring thread delivery. Pause if thread breaks or bunching interrupts the design. When embroidery is complete, remove the ornament carefully, trim loose thread ends, and finish it as instructed.
How do you hoop water-soluble stabilizer for FSL ornaments?
Cut the stabilizer large enough to cover the hoop's embroidery area, then place it evenly over the inner hoop. Position the outer hoop and tighten it until the stabilizer is smooth and secure, without wrinkles or slack. Avoid stretching it too much, as this can distort the working surface. If the pattern calls for multiple layers, position them as instructed before loading the hoop.
Where can I find snowflake embroidery designs?
Embroidery n Sewing offers downloadable snowflake designs, including the Snowflake 1 Outline, Snowflake 1 Solid and Snowflake Tree files, plus a full range of Christmas embroidery designs. Review each design's details and purchase terms to choose the right project.